Classic Dungeonbowl pitch. Moor pitch Feb 18th 2013

A forum for football mini's talk.......painting, converting etc. etc. or showing off great accessories that make playing the game easier, cooler or more fun.

Moderator: TFF Mods

Post Reply
User avatar
the solitaire
Star Player
Star Player
Posts: 530
Joined: Sun Mar 21, 2010 8:59 am
Location: germany

Re: Classic Dungeonbowl pitch 6 tiles complete! Dec 25th

Post by the solitaire »

I just applied a good coat of semi-gloss clear on all the tiles I have built to this stage.

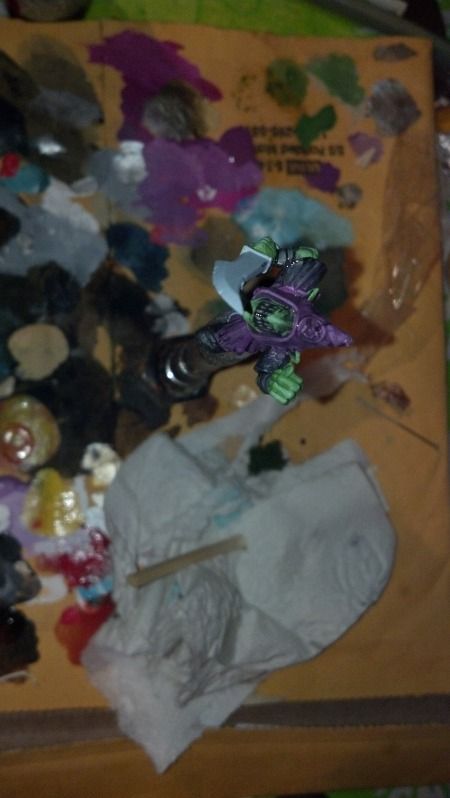
I still need to do a lot of detail on all of them, and after that I´ll apply more clear. Matte if I can find it, otherwise I´ll be happy with semi-gloss.

As far as brands go, for nearly all the spraypaints I went with Duplicolor. The reason for this choice is that I have a store nearby that sells their products cheap.

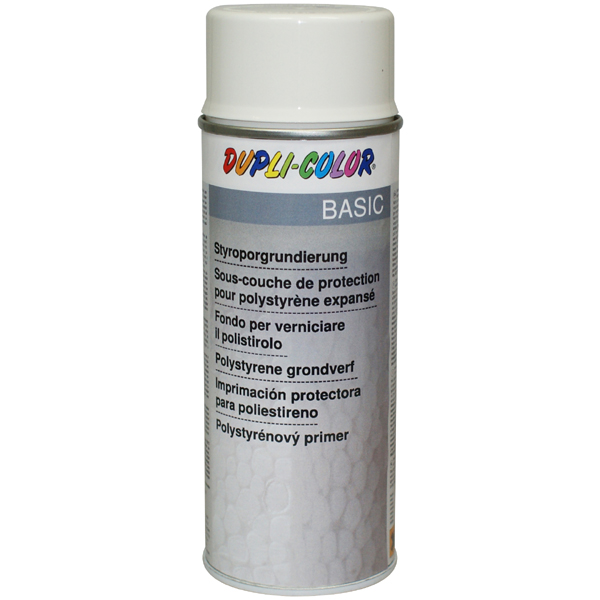
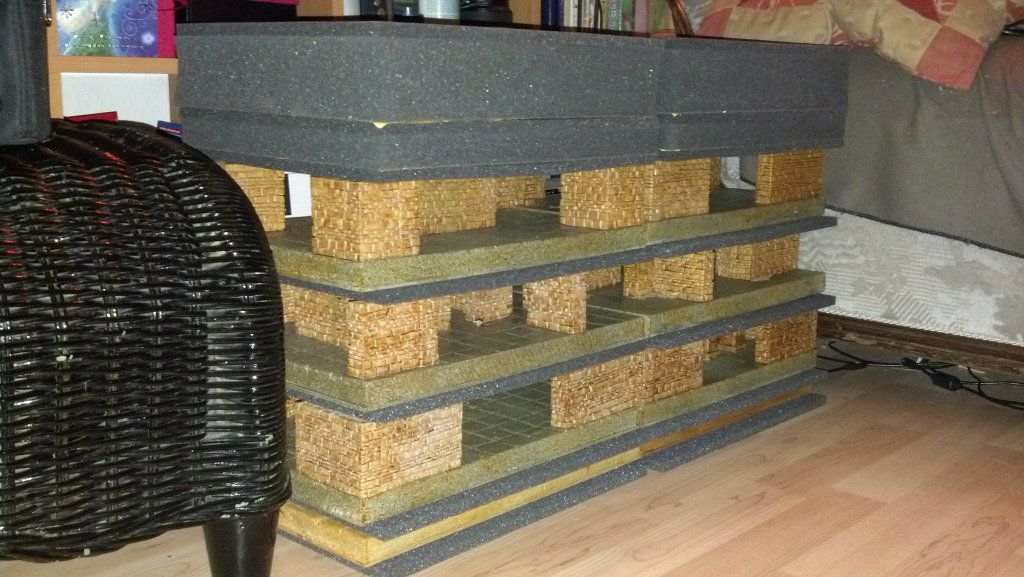
The base coat I used is Dupli Color Basic for styrofoam
-relatively cheap and can be applied on pink foam without sealing it with PVA glue first. A single coat covers the surface well enough to allow a 2nd coat with any regular spraypaint without having to worry about the foam being eaten away.

http://www.motipdupli.de/uploads/pics/S ... 0ml_02.jpg

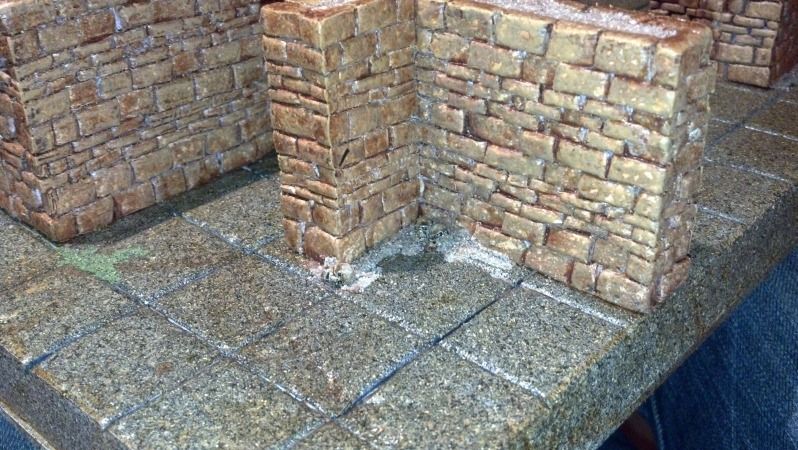
The granite effect spray I used is again from Dupli Color. It´s available in several different shades and colors. I picked a dark grey/black one and a sand colored one.

http://www.motipdupli.de/uploads/pics/G ... 0ml_13.jpg

There are several products from other suppliers, and I think some might even work better then the Dupli Color I used, but again, I went with what´s available (cheap) in my local DIY :)

The wood enamel or glaze I used is a shop specific labelled affair (Hornbach). I picked pine a shade and mahogani shade glaze to use in my project. Different shades will work, depending on the base color of the effect spray you´re using.

This is what I used:

http://www.hornbach.de/data/shop/D04/00 ... 151451.jpg

Bondex also makes the stuff and might be available to you. Even though I now have 3-4 coats of spraypaint on my styrofoam, I still went with an acrylic product because I water it down and it reaches recessed areas that did not get a full coat of protective paint. Still, this stuff can be obtained fairly cheap and a small can covers a lot of surface watered down. You do´t want to use it straight from the can because it´s just too thick to apply it nicely.

The clear I use is Dupli Color Zapon Crystal (semi-gloss)
-Costs a bit more then just any cheap clearcoat, but it can be applied on acrylic- and nitro based- paints, on clean metals and on natural materials like flowers or wood. This versatility took away my doubts to apply it on wood enamel.

http://www.fidi-didi.de/images/produkte ... l--400.jpg

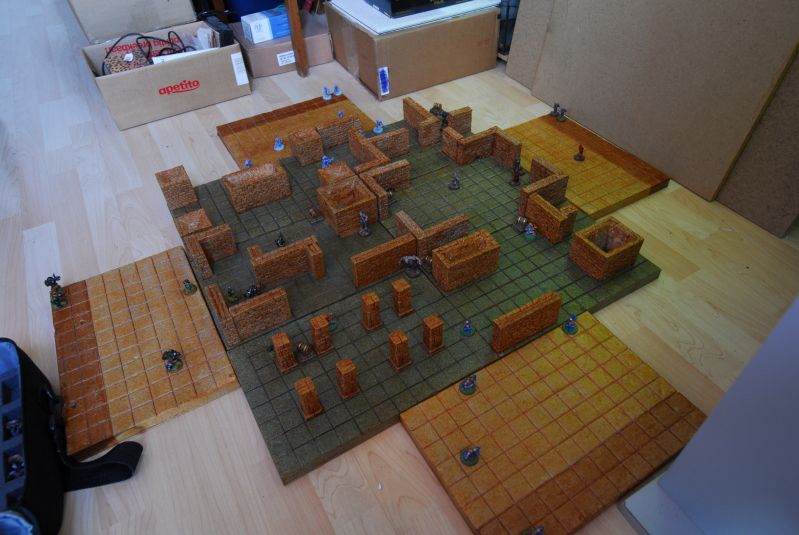
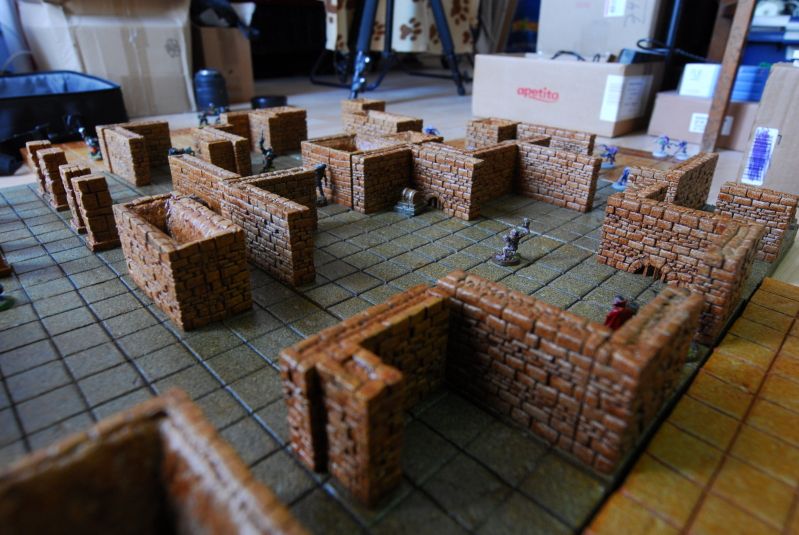
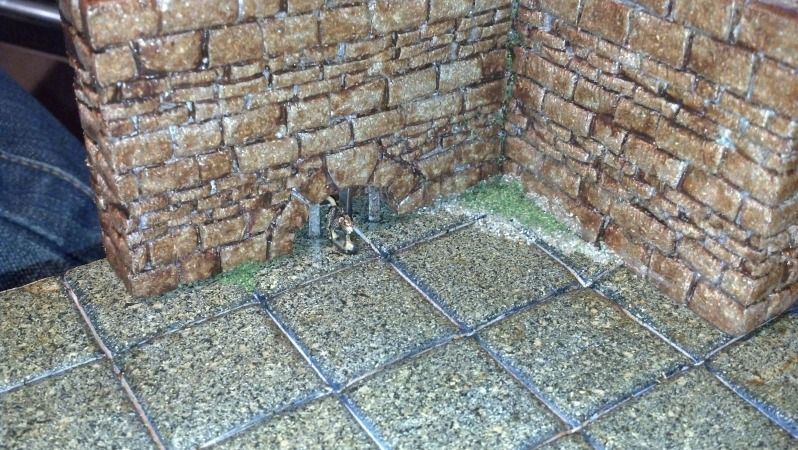
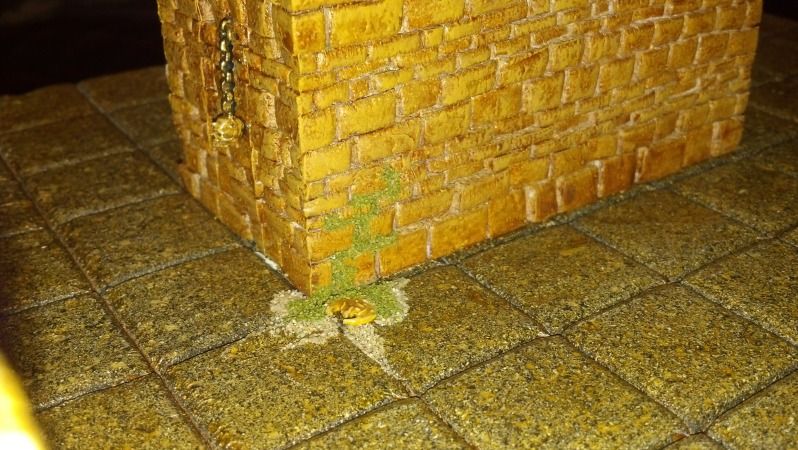
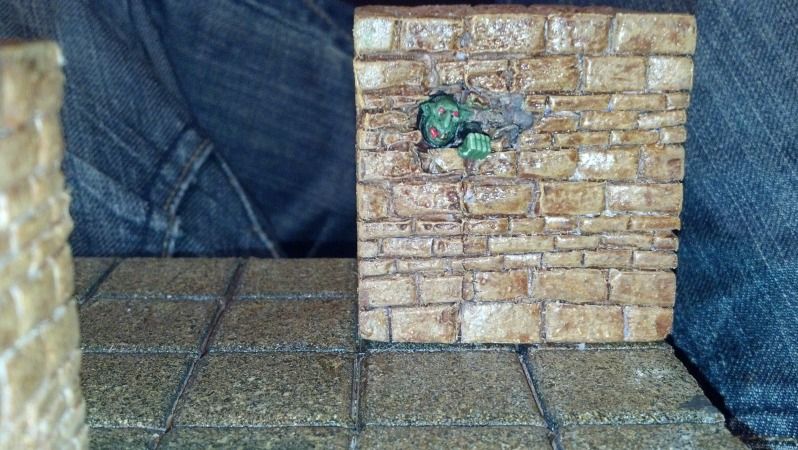
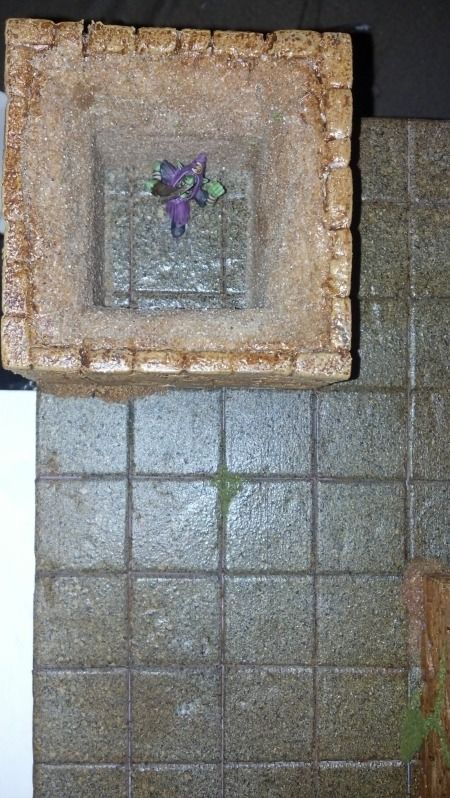
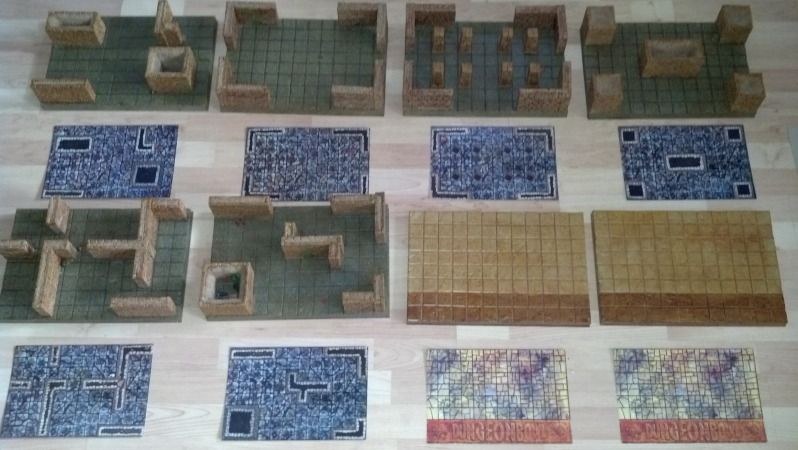
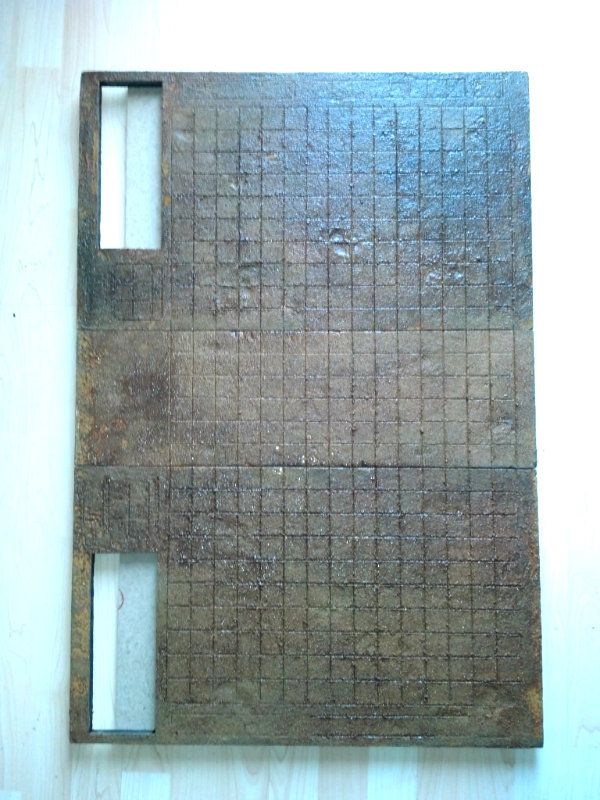
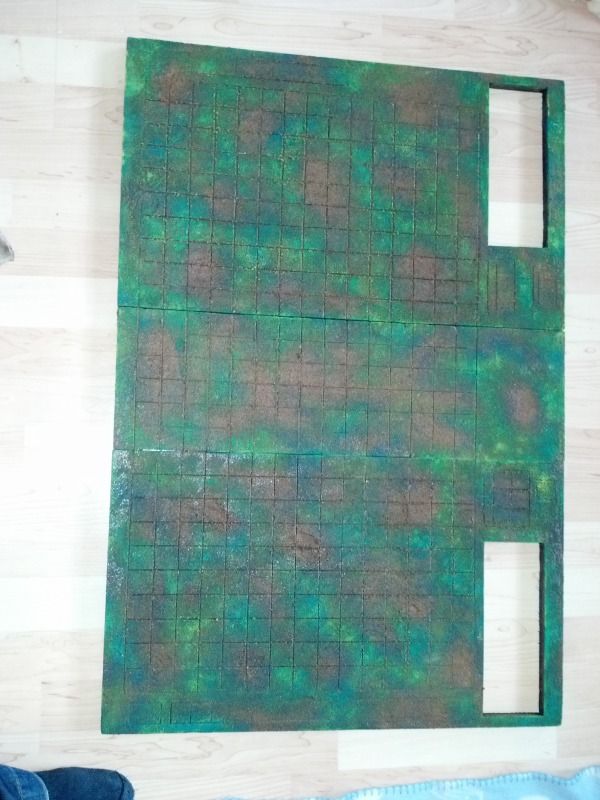
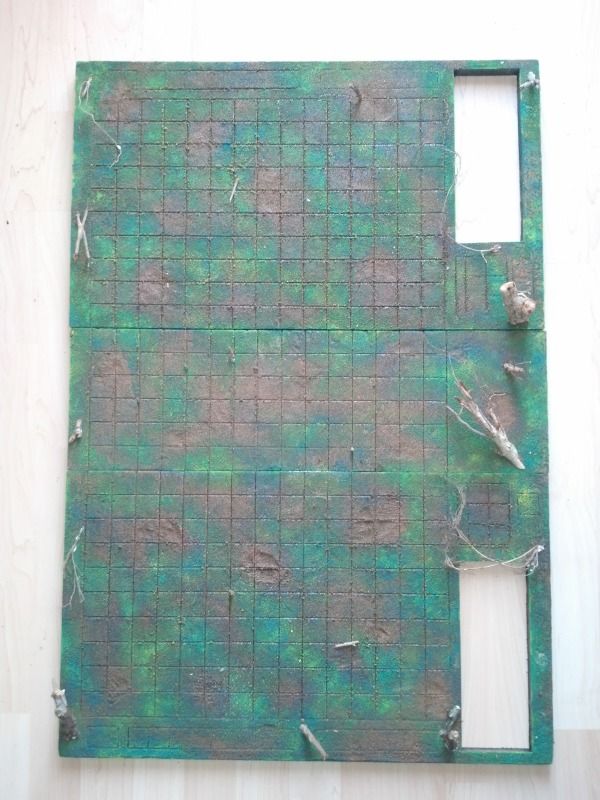
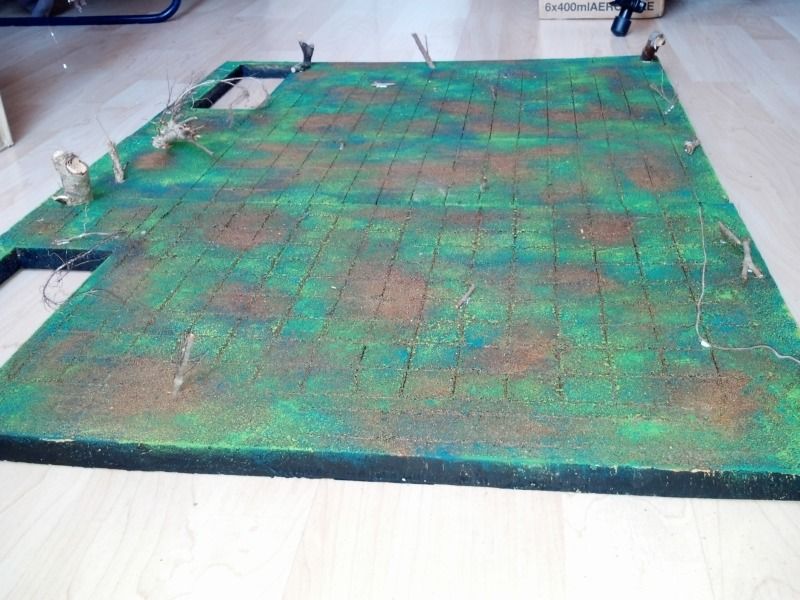
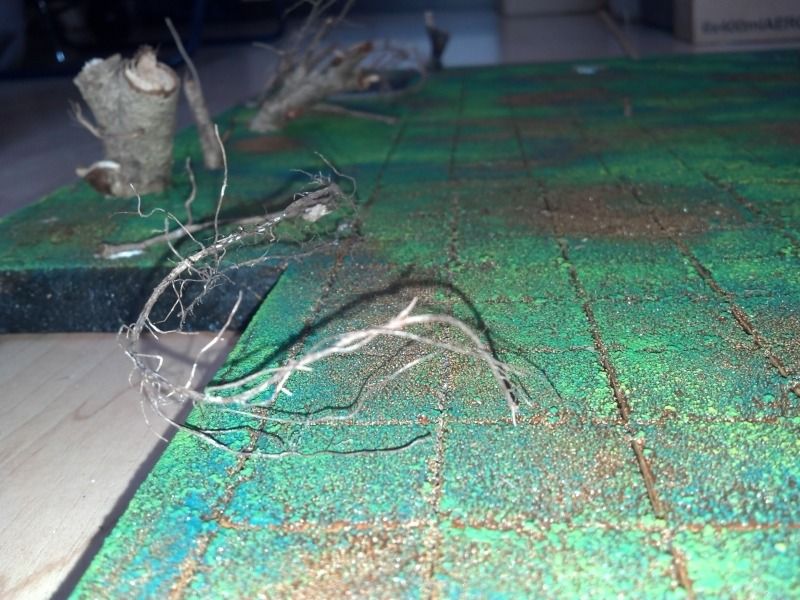
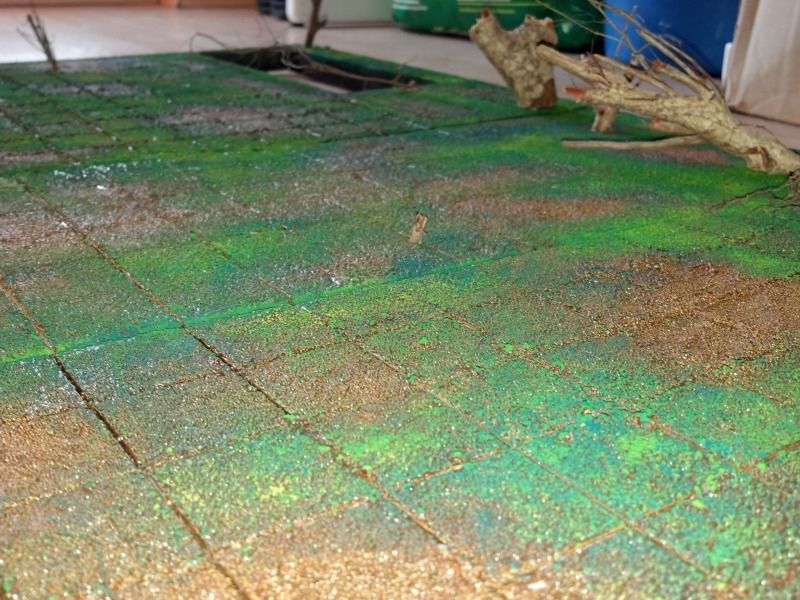
I was able to take some pictures using daylight rather then flashlight.

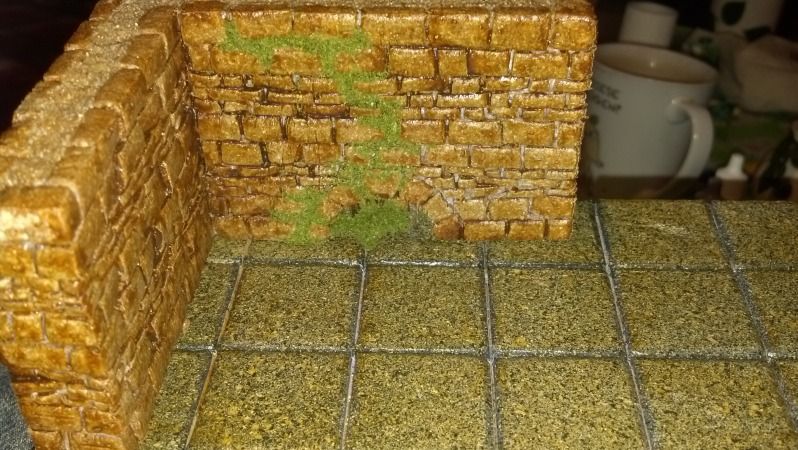
This time I can definitely say the pictures do the board justice. Flash does drown out some of the detail and falsifies some of the colors a bit

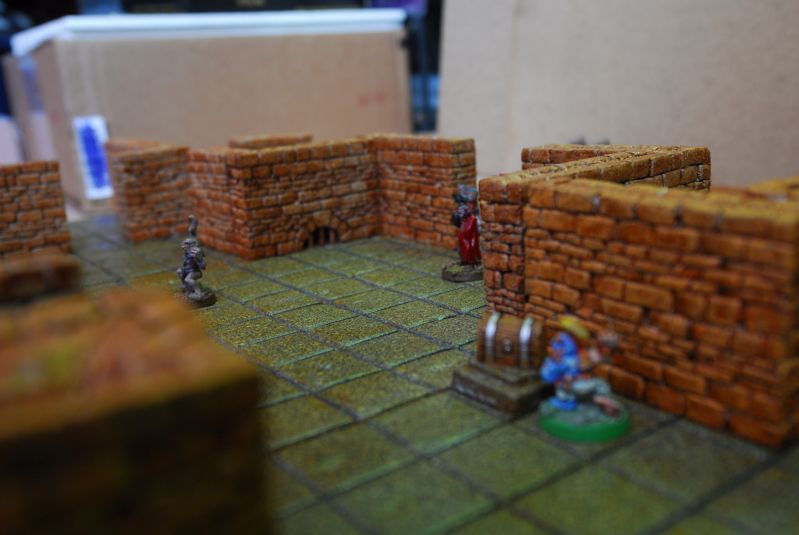
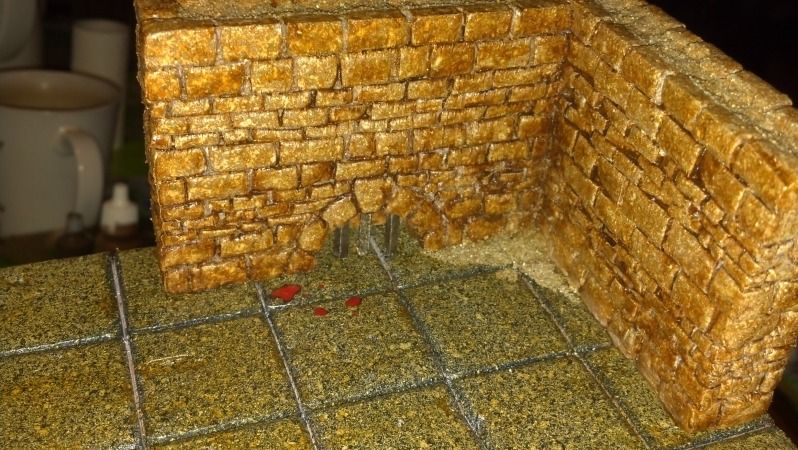
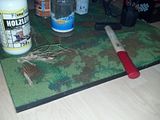
I placed another 2 endzone tiles around the board. A 4 way rumble would be possible this way. with 8 tiles and a more random dungeon layout (not placing all tiles in a big square) a 4 way game would be more fun though.

Image

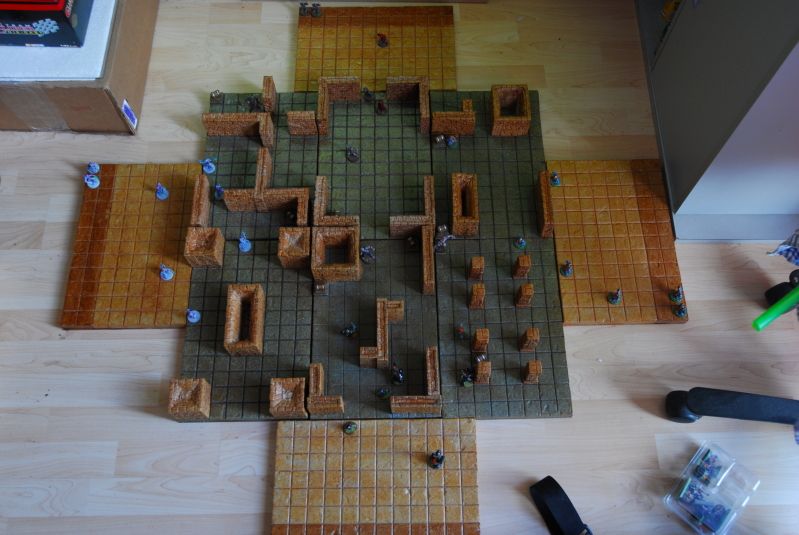
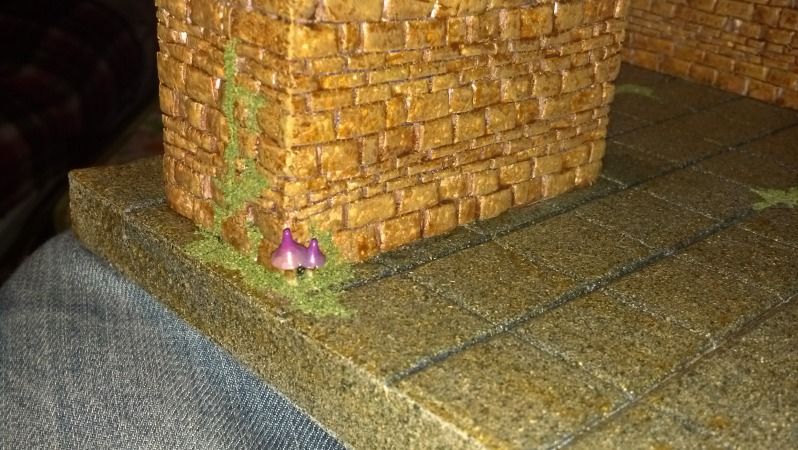
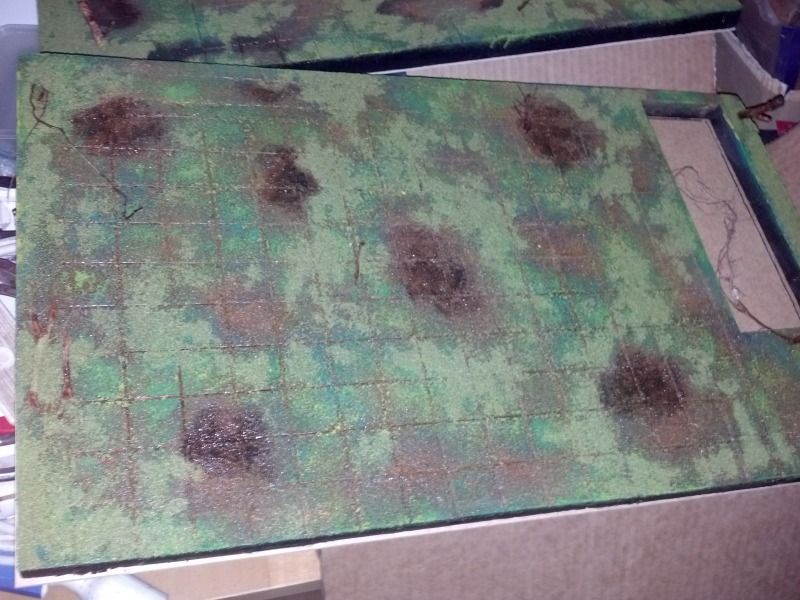
one endzone tile is a bit brighter then the others. This one needs another coat of wood enamel.

Image
Image
Image
Image
Image

Reason: ''
If you can´t fix it with a hammer, you have an electric problem
User avatar
Axtklinge
Legend
Legend
Posts: 1948
Joined: Fri Apr 16, 2004 2:08 am
Location: Porto, Portugal
Contact:

Re: Classic Dungeonbowl pitch 6 tiles complete! Dec 25th

Post by Axtklinge »

Looks fantastic!
:D

Congrats!
A.

Reason: ''
User avatar
yggdrasil
Veteran
Veteran
Posts: 278
Joined: Fri Jun 10, 2011 8:24 am

Re: Classic Dungeonbowl pitch 6 tiles complete! Dec 25th

Post by yggdrasil »

That really looks great. I especially like the little drainage hole on one of the walls, that adds super much character.

You must have worked really hard - it seems not very long ago you started this, and now you are almost done.

Also, I didn't mean to criticise too harshly earlier, the models look great and I'm sure the humans will too. I like the sound of a human/halfling/ogre team in unified colours a lot. 8)

Reason: ''
User avatar
the solitaire
Star Player
Star Player
Posts: 530
Joined: Sun Mar 21, 2010 8:59 am
Location: germany

Re: Classic Dungeonbowl pitch 6 tiles complete! Dec 25th

Post by the solitaire »

thnx for the kind words.

One of my goals when I started this project was trying to find out how much time I'd need to make a set like this.

The verdict is: to much to sell them with the intention of making a profit.

This set is nowhere near finished yet. You could say I have the basic structure up but still need to do the decorating :)

I figured that nothing but bare walls would soon be boring so the drains were added and I have something in mind for the next set of wall sections as well :D

Reason: ''
If you can´t fix it with a hammer, you have an electric problem
User avatar
the solitaire
Star Player
Star Player
Posts: 530
Joined: Sun Mar 21, 2010 8:59 am
Location: germany

Re: Classic Dungeonbowl pitch adding details! Dec 29th

Post by the solitaire »

Started adding detail and decorations to the dungeon tiles.

Thnx again @ velvet mark. You might recognize a bunch of parts used here :D

Image

Image

Image

Image

Image

Image

Image

Image

Image

Image

Image

Reason: ''
If you can´t fix it with a hammer, you have an electric problem
User avatar
Axtklinge
Legend
Legend
Posts: 1948
Joined: Fri Apr 16, 2004 2:08 am
Location: Porto, Portugal
Contact:

Re: Classic Dungeonbowl pitch adding details! Dec 29th

Post by Axtklinge »

Nice!
:D

Washes (watered down) here 'n there (different places and with different tones), might help to give the dungeon more detail too (blood splatters, water infiltrations, etc).
Just an idea.
:)

Reason: ''
User avatar
the solitaire
Star Player
Star Player
Posts: 530
Joined: Sun Mar 21, 2010 8:59 am
Location: germany

Re: Classic Dungeonbowl pitch adding details! Dec 29th

Post by the solitaire »

Some puddles of mucky water might look good indeed :D. I need to buy new water effects anyways for my moor themed BloodBowl pitch

Today mail showed up containing the original DungeonBowl tiles.

Bought a set off of ebay for EUR 10

Image

Reason: ''
If you can´t fix it with a hammer, you have an electric problem
User avatar
the solitaire
Star Player
Star Player
Posts: 530
Joined: Sun Mar 21, 2010 8:59 am
Location: germany

Re: Classic Dungeonbowl pitch needs special dice! Jan 5th 20

Post by the solitaire »

Due to time being in limited supply I will continue building dungeon segments later.

That means back to the drawing board!

One aspect I am working on is building a case with the exact dimensions that will allow me to store a total of 8 dungeon segments and 4 endzone segments between layers of 15mm foam.

Folded open the case should be a gaming table that fits all these tiles stacked in rows of 2 wide.

This is the easy part.
Inner dimensions of the case: 24cm deep, 72cm wide, 48 cm high, consisting of two halves with 72cmx48cm surface and a 12cm wall, connected by a single 72cmx24cm piece in the middle and 2 piano style hinges.

I would like to be able to exchange 2 dungeon sections and 2 endzones for foam layers allowing me to transport 54 human sized models, 24 snotling/goblin/halfling sized models and a load of big guys (up to the winged minotaur) in 5 custom fit foam compartments that fit in between or on top of the dungeon tiles.

Another little idea I had was that with the nice treasure chests, beads and leather pouch I ordered, I might as well work on some teleporters and custom dice.

I already ordered the Q workshop metal dwarven dice and a set in plastic (grey with black engraving)

Image
Image

What Q workshop doesn´t offer is a set of block dice to go with that, but they do offer to make (at least acrylic) custom dice with 6 designed faces)

I figured something along these lines would work:

Image

Image

Image

Image

Image

Image

I contacted Q Workshop about do-ability of this design and cost of having them manufactured

Reason: ''
If you can´t fix it with a hammer, you have an electric problem
User avatar
the solitaire
Star Player
Star Player
Posts: 530
Joined: Sun Mar 21, 2010 8:59 am
Location: germany

Re: Classic Dungeonbowl pitch block dice artwork! Jan 6th 20

Post by the solitaire »

Good news! Today the foam for the transport case arrived!

http://i3.photobucket.com/albums/y96/th ... 30_939.jpg

Better news still, I can leave another 40mm of foam in the case I plan to build, which translates into another layer of foam for teams!

Reason: ''
If you can´t fix it with a hammer, you have an electric problem
User avatar
the solitaire
Star Player
Star Player
Posts: 530
Joined: Sun Mar 21, 2010 8:59 am
Location: germany

Re: Classic Dungeonbowl pitch. Foam for transport Jan 15th 2

Post by the solitaire »

Found a set of dice that look as if they would fit with the Dwarven dice I ordered

http://www.ebay.co.uk/itm/190784850656? ... 1423.l2649

Unfortunately I got outbid and don´t feel like placing a higher bid

Next stop is trying to figure out how I´m going to sculpt and cast my own dice out of pewter

Reason: ''
If you can´t fix it with a hammer, you have an electric problem
User avatar
Axtklinge
Legend
Legend
Posts: 1948
Joined: Fri Apr 16, 2004 2:08 am
Location: Porto, Portugal
Contact:

Re: Classic Dungeonbowl pitch. Foam for transport Jan 15th 2

Post by Axtklinge »

Hi!
Just to let you know I've mentioned your thread in the Merry Mayhem News blog.
(Link: http://bloodbowlmayhem.blogspot.pt/2013 ... s-pt1.html)
Hope you don't mind.

I've ended up starting a dungeon myself...
:lol:


PS: By the way, that project for block dice looks quite cool. Any news on those?

Reason: ''
User avatar
the solitaire
Star Player
Star Player
Posts: 530
Joined: Sun Mar 21, 2010 8:59 am
Location: germany

Re: Classic Dungeonbowl pitch. Foam for transport Jan 15th 2

Post by the solitaire »

Dungeon looks great Axt!

There are some ideas in there that I would have used rather then doing things the way I did them if I had to start over again.

As to the dice, Q workshop has not gotten back to me yet. If I would give them the job of making those dice they would come out approx $7 each though.

I´m going to try my hand at sculpting one die and if I succeed I can cast it in pewter.

A third variant would be to cut 16mm square solid brass rod in cubes and photo etch the designs on.

At the moment I´m looking at how I can get these made in an affordable way.

Let me know if you´re interested in a set.

Reason: ''
If you can´t fix it with a hammer, you have an electric problem
User avatar
the solitaire
Star Player
Star Player
Posts: 530
Joined: Sun Mar 21, 2010 8:59 am
Location: germany

Re: Classic Dungeonbowl pitch. Moor/Bog pitch Jan 24th 2013

Post by the solitaire »

With a serious lack on progress on the dice I continued using up the leftover pieces of styrofoam.

I already started on this pitch, and managed to get a base color and some sand on it by now.

Image

I´m aiming for a look similar to this:

Image

UPDATE::

Got some green paint on the board.

Image

I now need to mix some black ink, brown ink and green paint to paint into the areas that are going to be covered by acrylic water later on to give the puddles some depth and make them look mucky.

After that is done I need to add some tree stumps and fallen logs before I can start flocking the board and adding static grass and clumps of foilage.

Reason: ''
If you can´t fix it with a hammer, you have an electric problem
User avatar
Axtklinge
Legend
Legend
Posts: 1948
Joined: Fri Apr 16, 2004 2:08 am
Location: Porto, Portugal
Contact:

Re: Classic Dungeonbowl pitch. Foam for transport Jan 15th 2

Post by Axtklinge »

Hi!
Glad you liked how the dungeon is turning out.
Still plenty of work to do there, but I'm happy on how it's starting to look.

Looking forward to see more developments on your pitch, but I like it so far!
I'll pm you about the dice!
A.

Reason: ''
User avatar
the solitaire
Star Player
Star Player
Posts: 530
Joined: Sun Mar 21, 2010 8:59 am
Location: germany

Re: Classic Dungeonbowl pitch. Moor pitch progress Jan 26th

Post by the solitaire »

I made some more progress on the pitch.

As usual, I approached the issues at hand in exactly the wrong order.

I added some twigs and wood stumps to the pitch that will serve as broken and fallen trees :

Image

Image

Image

Image

And then figured it would be a perfect time to glue the styrofoam boards to some wood to straighten them out and prevent them from bending again.

When glueing styrofoam to wood I advise placing something heavy (like books) on the styrofoam after applying the glue until the glue set. With the trees glued on it´s a bit tricky to find something heavy that is not books.

I used cans of spraypaint, the glue bottle and some water bottles to solve the issue. Mental note to self: Next time, glue the styrofoam to wood before glueing pointy stuff on the surface...

Image

Also darkened the areas that will be filled with acrylic water:

Image

Reason: ''
If you can´t fix it with a hammer, you have an electric problem
Post Reply