Discuss Fantasy football-style board games - GW's Blood Bowl, Impact!'s Elfball, Privateer Press' Grind, Heresy's Deathball, etc. THIS IS NOT AN NFL FANTASY FOOTBALL SITE!
A forum for football mini's talk.......painting, converting etc. etc. or showing off great accessories that make playing the game easier, cooler or more fun.
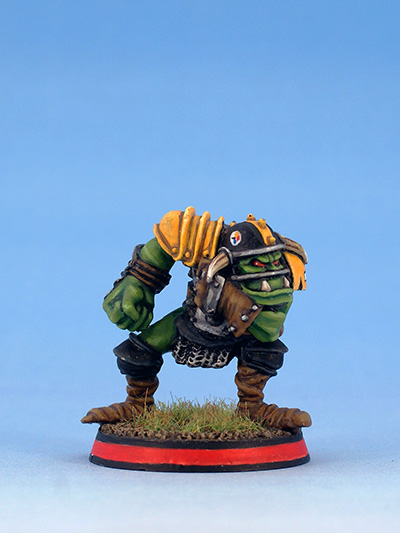
I often get asked how I paint the base rings on my Blood Bowl miniatures. Up until now I have always done them in freehand, but in the future I will be doing them a little different.
I do similar bases on mine, but I paint the bases in the ring color, then use a Sharpie in a similar way to how you use the knife to color the black lines.
I'll definitely try your way to see if my brush control is good enough with the cuts, as the Sharpie bleeds a little when I spray-fix the minis!
Reason:''
I was Puzzlemonkey, but now I'm Wifflebat. Please forward my mail...
Thx for sharing this technic!
I alway wanted to paint a Strip, too, but i was more thinking about masking the base ...
...your way seems much more easy!
Your base looks great. I actually tried something similar once, but I couldn't get it to work. I found it hard to clean up mistakes. If it works for you that's great
horekim, I haven't tried this out, but I can imagine a similar method that doesn't involve scoring the actual base.
Step 1: Paint the edge of your base in your preferred base ring colour.
Step 2: Tape the edge of your base using the masking tape many painters use when masking off areas when airbrushing (it's a special type of tape that stops paint from bleeding through, so you maintain a sharp edge where the 2 colours meet).
Step 3: Cut the tape at the top and bottom, using the same method you use for scoring the base.
Step 4: Remove tape from the top and bottom of the base, leaving a thin strip of tape around the middle of the base.
Step 5: Paint the top and bottom of the base in your preferred colour (e.g. black so that it contrasts with the base ring colour). The tape will ensure you get a straight edge and protect the base ring colour, so you don't have to be super careful when applying the paint at this stage.
Step 6: Allow paint to dry.
Step 7: Remove the tape around the middle of your base.
Interesting idea and interesting mod, one that erhaps could be done more easily for existing models with bases attached?
Currently I have the old 2nd ed solid base ring of colour, but this does look a bit sharper.
Wondering both how to do this in a a fixed set up allowing the mass production of scored bases and how to make a easy to stick on masking tape solution on a curved base.
In my overblown opinion ....
If we could find an item that will do both scores at the same time it should be good for all but the damdest fools and you will be able to do current mounted models.
I did discover a problem with the RC tape
It did not appear to be able to handle the slope and the curve and I am not anal enough to line up the joint once I get all the way around
may i do not have enough patience for the tape method.
I've also thought about doing a "reservoir" method where I paint the base ring color, then simply fill a shallow pan with a line-width of paint and place the bases in it, then carefully pull them out.
I have only thought about it for the obvious potentially-disastrous control reasons. And of course, you could only do it with bases that had no figs on them yet. But I wouldn't try any of these techniques with models on the bases. Because I'm a coward.
Reason:''
I was Puzzlemonkey, but now I'm Wifflebat. Please forward my mail...
puzzlemonkey wrote:I've also thought about doing a "reservoir" method where I paint the base ring color, then simply fill a shallow pan with a line-width of paint and place the bases in it, then carefully pull them out.
I have only thought about it for the obvious potentially-disastrous control reasons. And of course, you could only do it with bases that had no figs on them yet. But I wouldn't try any of these techniques with models on the bases. Because I'm a coward.
Hah! That's a great idea! I doubt that it would actually work, but I like your thinking
Two scores at the same time is "easy". Get two blades and two parts of plastic so you can do a weird sandwich: plastic 1, blade, plastic 2, blade. Then hold this with a clamp near the edge of a table, plastic 1 touching the table. Varying the thickness of plastic 1 and 2 you control where the line appears (remember blades add a bit).