
I've had the 'classic' Willy Miniatures 4x goblin secret weapons lying around in my to-do collection for quite a while, and since I have the complete Apocalypse goblin team (which is pretty spectacular, in my opinion), I thought it high time I got them painted - but I wanted to do something kinda special with them.
So! Using an old movement tray I've decided to paint the models and create a nice presentation base for them - this thread is basically just to share the progress and the fruits of my labour
I realise that the order I do things may be different to how other people paint etc - to each their own. On top of that I don't claim to be any good at painting - I'm not terrible, but not great - there are a fair few AMAZING painters on here - hats off to them.
Note: Photobucket is really slow for me ... so if the images don't load or take forever i've included the hyperlinks below each.
Apologies for the poor pictures.
Here's a shot of the starting point...

Click for image
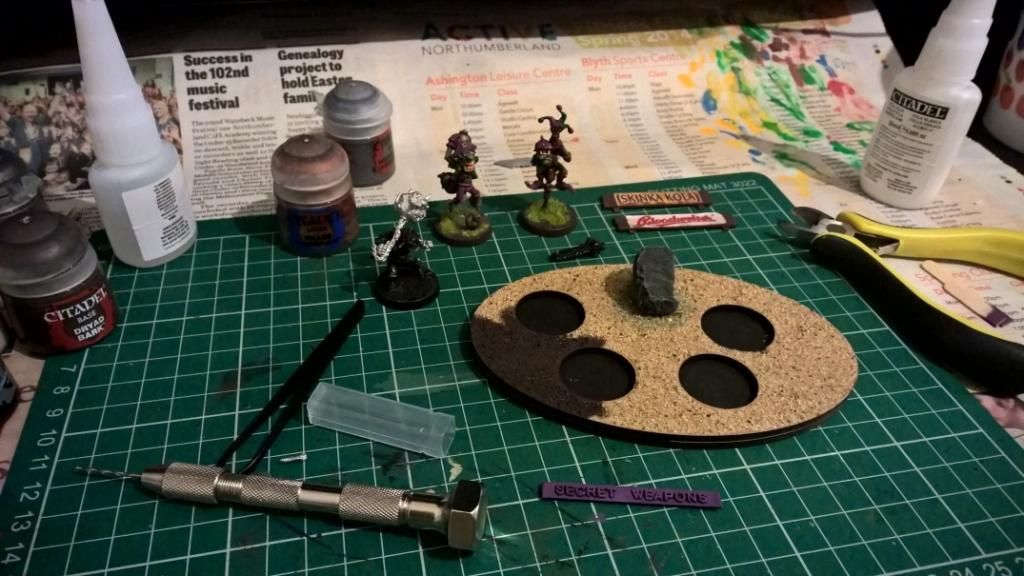
This is the movement tray, the pogoer and the fanatic (minus the ball and chain - more on that shortly). Ignore the chainsaw player in the background, he is from the aforementioned Apocalypse goblin team - the proper one is currently in acetone to remove a hideous earlier paintjob I started.
Next stage I applied the usual sand to any bases I needed to ...

Click for image
The flying stalk is for the Bombardier - he (very VERY easily) came away from his base sprue and I thought the best way to make him look dynamic would be to have him on a flying stalk - pics to follow.
I wanted to give the base a 'Blood Bowl' feel - if that's a thing or even possible...
Click for image
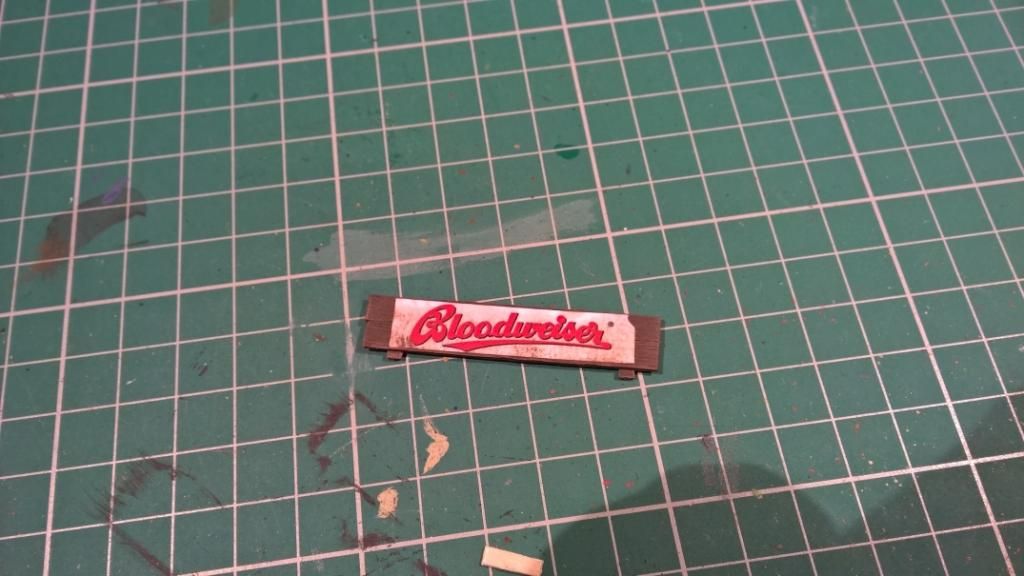
So I have created a couple of small 'billboards' using the lovely signage created by Sp0n. This is one of them. It is simply a wooden stirrer (like you get in Starbucks) cut up and glued together in a fencelike formation, then painted and the printed advert attached with PVA before being distressed a little. I'm not 100% happy with the billboards, but they aren't bad by any stretch.
Next I've moved onto painting...
Click for image
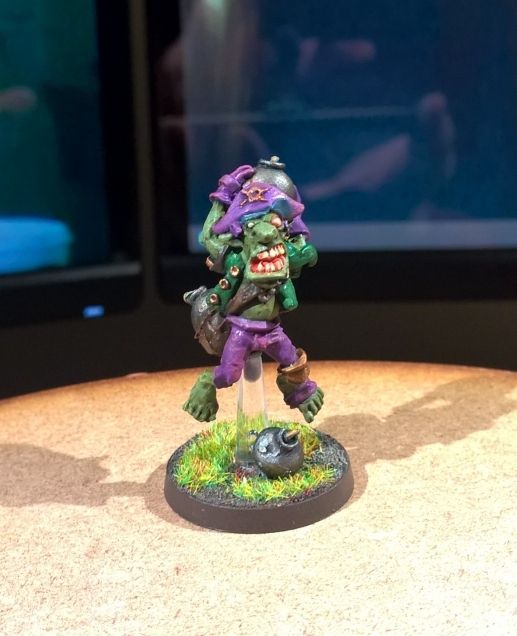
Here you can see the (just about) finished Bombardier. Went with Purple and Green with brass accessories. Feel its turned out well - same for the flying stalk.

Click for image
Shot of both the Pogoer and the Bombardier. Pretty disappointed with the pogo model to be honest - I had to buy a replacement as my original had gone missing and the replacement I got was a really poor casting. May have been that the mould was getting old, but it was not aligned well and a LOT of cleaning up had to be done - almost an entire evening of careful filing. I am, however, happy with the final result. There are a few little tweaks needing made, but they are minor things like the stitching on the hat etc.
Progress on the base now ...
Click for image
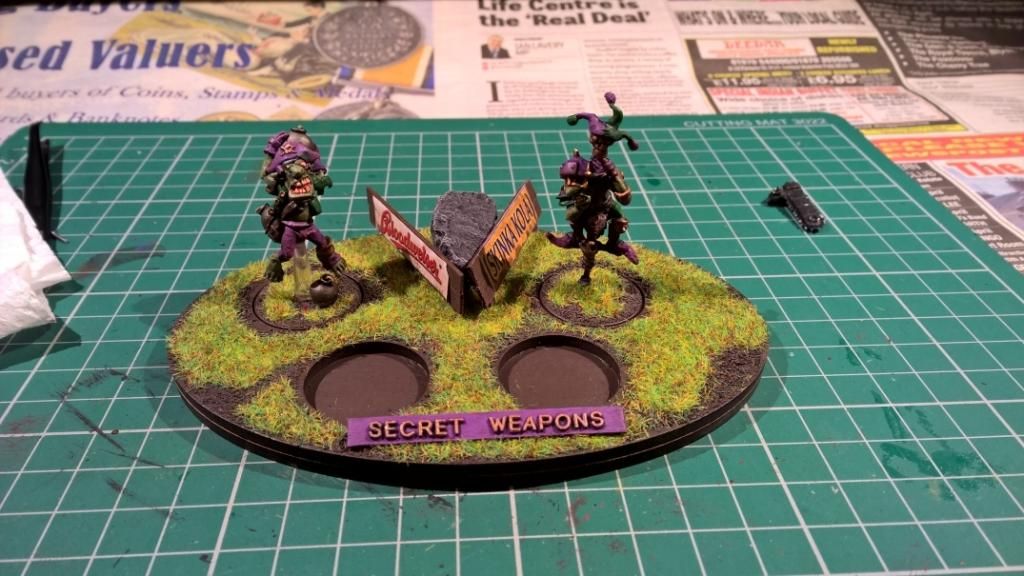
As you can see I've filled the back-middle hole and put a rock there. This is just a rock out of my garden that was a decent size and shape. The hole is filled with a crappy old 25mm base and green-stuff'd smooth and the rock green-stuff'd on top. At the back there's the other billboard I made - a Skinka Kola one - and there's the first glimpse of the Fanatic who has had to be modified from the original design (story to follow in a future update). Also started on a 'plaque' of sorts to sit on the base - painted in the team colours.
Getting close to finished ...
Click for image
I finished the bulk of the base now - the rock is painted, the ground has been painted, the plaque is attached and about done. The grass has only just been applied in this picture, so there's still some excess to be wiped away. I still need to finish the edges and attach the two billboards (in roughly a similar position to how they are balanced there). You can see how well the two finished models fit in with the base in general.
Thats the current completion status - two models to finish painting and the base to tidy up! I'll update this thread as I get more done - hopefully soon!


